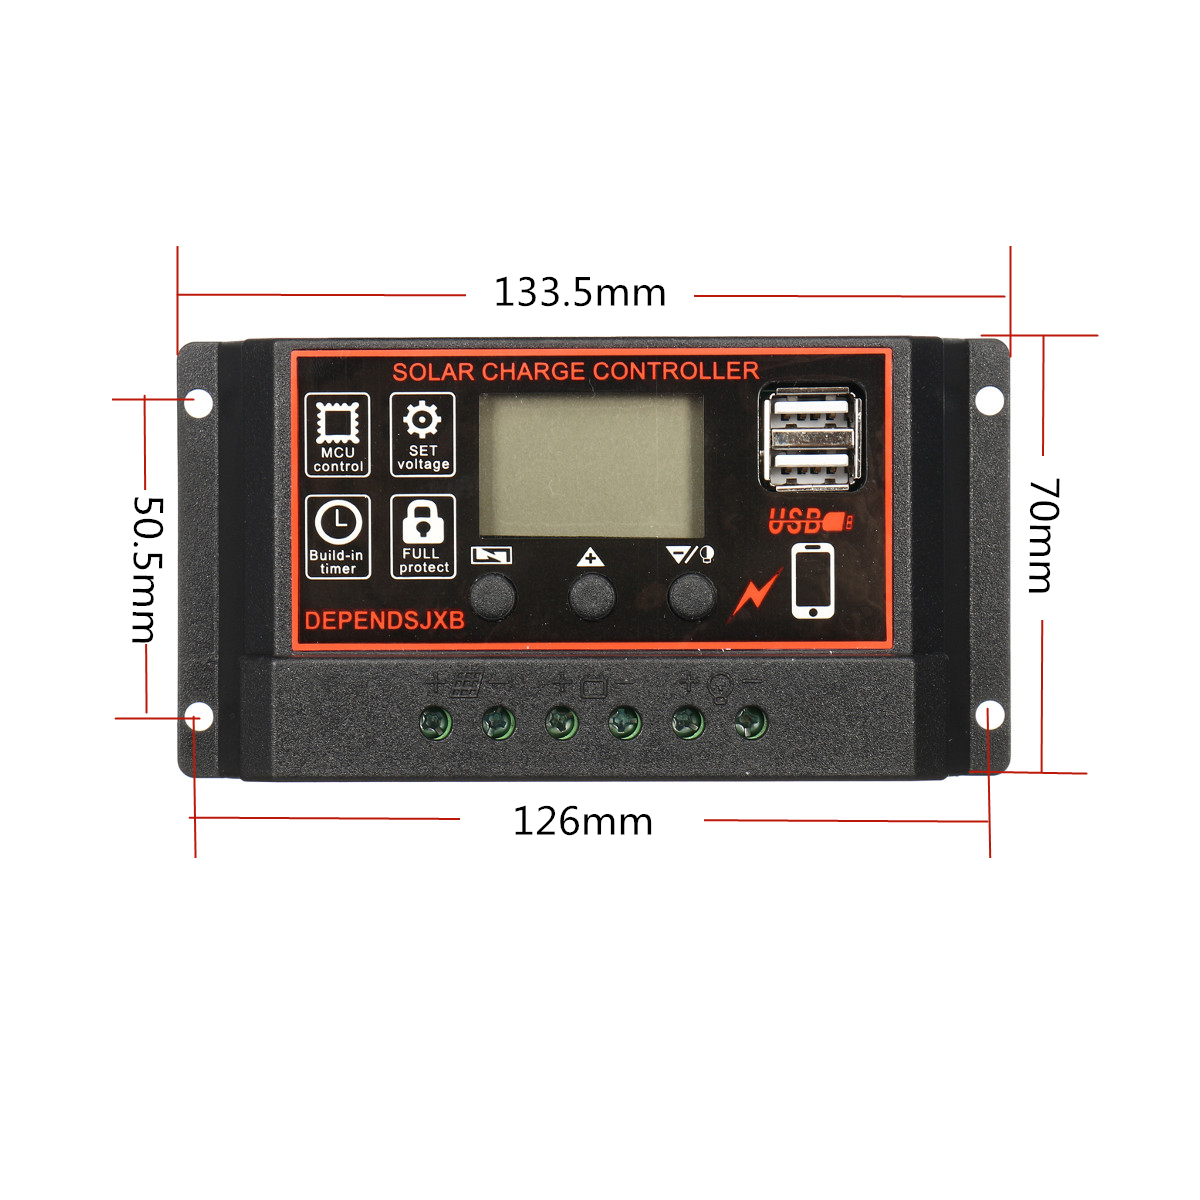
10A-60A 12V/24V Auto Solar Controller LCD Solar Charge Controller PWM Solar Panel Controller Battery Regulator With 2 USB Port


10A-60A 12V/24V Auto Solar Controller LCD Solar Charge Controller PWM Solar Panel Controller Battery Regulator With 2 USB Port
- Product SKU: 16837-50A
- Category: Electrical Equipment

R 457.99
Specification:
Material: ABS
Color: Black+Orange
Display: LCD screen
Batt Voltage: 12v/24v auto
Rated Current: 10A, 20A, 30A, 40A, 50A, 60A
Self-consumption: < 10MA
Working temperature: -35 ℃ -60 ℃
Max solar input: 12v battery, the highest 23v; 24v battery when the highest 46v
Float charge: 13.7v(defaul, adjustable)
Discharge stop: 10.7v(defaul, adjustable)
Discharge reconnect: 12.6v(defaul, adjustable)
Charge reconnect: 13v
Voltage of open light: solar panel 8v(Light lights delay)
Voltage of close light: Solar panel 8v(Light off delay)
USB output: 2 way USB output, 5V/2.5A(MAX)
Size: (L)X(W)X(H)133.5X70X35mm /5.26''X2.76''X1.38"(appr.)
Features:
✔ Build-in industrial micro controller
✔ Fully 3-stage PWM charge management
✔ Big LCD display, all adjustable parameter
✔ Dual mosfet reverse current protection, low heat production
✔ Dual USB output, the maximum current of 2.5A, to support Apple's mobile phone charging
✔ Build-in short-circuit protection, open-circuit protection, reverse protection, over-load protection
✔ Suitable for solar green light, solar light boxes advertising board, solar insecticidal lights, housing solar power generation system, marine solar power generation system, outdoor survival solar power generation system
SAFETY INSTRUCTIONS
1.Make sure your battery has enough voltage for the controller to recognize the battery type before first installation
2.The battery cable should be as short as possible to minimize loss
3.The regulator is only suitable for lead acid batteries: OPEN,AGM,GEL, it is not suited for nickel metal hydride, lithium ions or other batteries
4.The charge regulator is only suitable for regulating solar modules. Never connect another charging source to the charge regulator
SYSTEM CONNECTION
1.Connect the battery to the charge regulator-plus and minus
2.Connect the photovoltaic module to the regulator-plus and minus
3.Connect the consumer to the regulator-plus and minus
The reverse order applies when deinstalling
An improper sequence order can damage the controller
Package included:
1 X Solar Charger Controller
1 X English Manual


